An Interior Designer’s Guide to Christmas Tree Decorating
One of my favorite memories from my whole childhood is laying under the Christmas tree, before all the gifts have been stashed there, and looking up through the branches to see the twinkling lights, the ornaments sparkling, and soaking in the Christmas magic! The Christmas tree has always been central to how we Lamberts mark the start of the season. We had an ooooooold fake tree, the instructions long lost, that I had to wrestle into submission and light every year. By the time I was 10, Dad said, “I’ve had enough of that,” and I was in charge of it for the next 20 years! Haha! He would be in charge of getting it out of the garage and setting the mood (Manheim Steamroller is mandatory here). Once the tree was up and lit, Mom took over! She has about 80,000 ornaments (unconfirmed) and she’d pack that tree so full of sparkle and crystal and engraved brass memories that it was always surprising it didn’t just explode! As you can tell, my tree decorating style has been heavily influenced by the family memory and sparkle of it all.
MY CHRISTMAS TREES
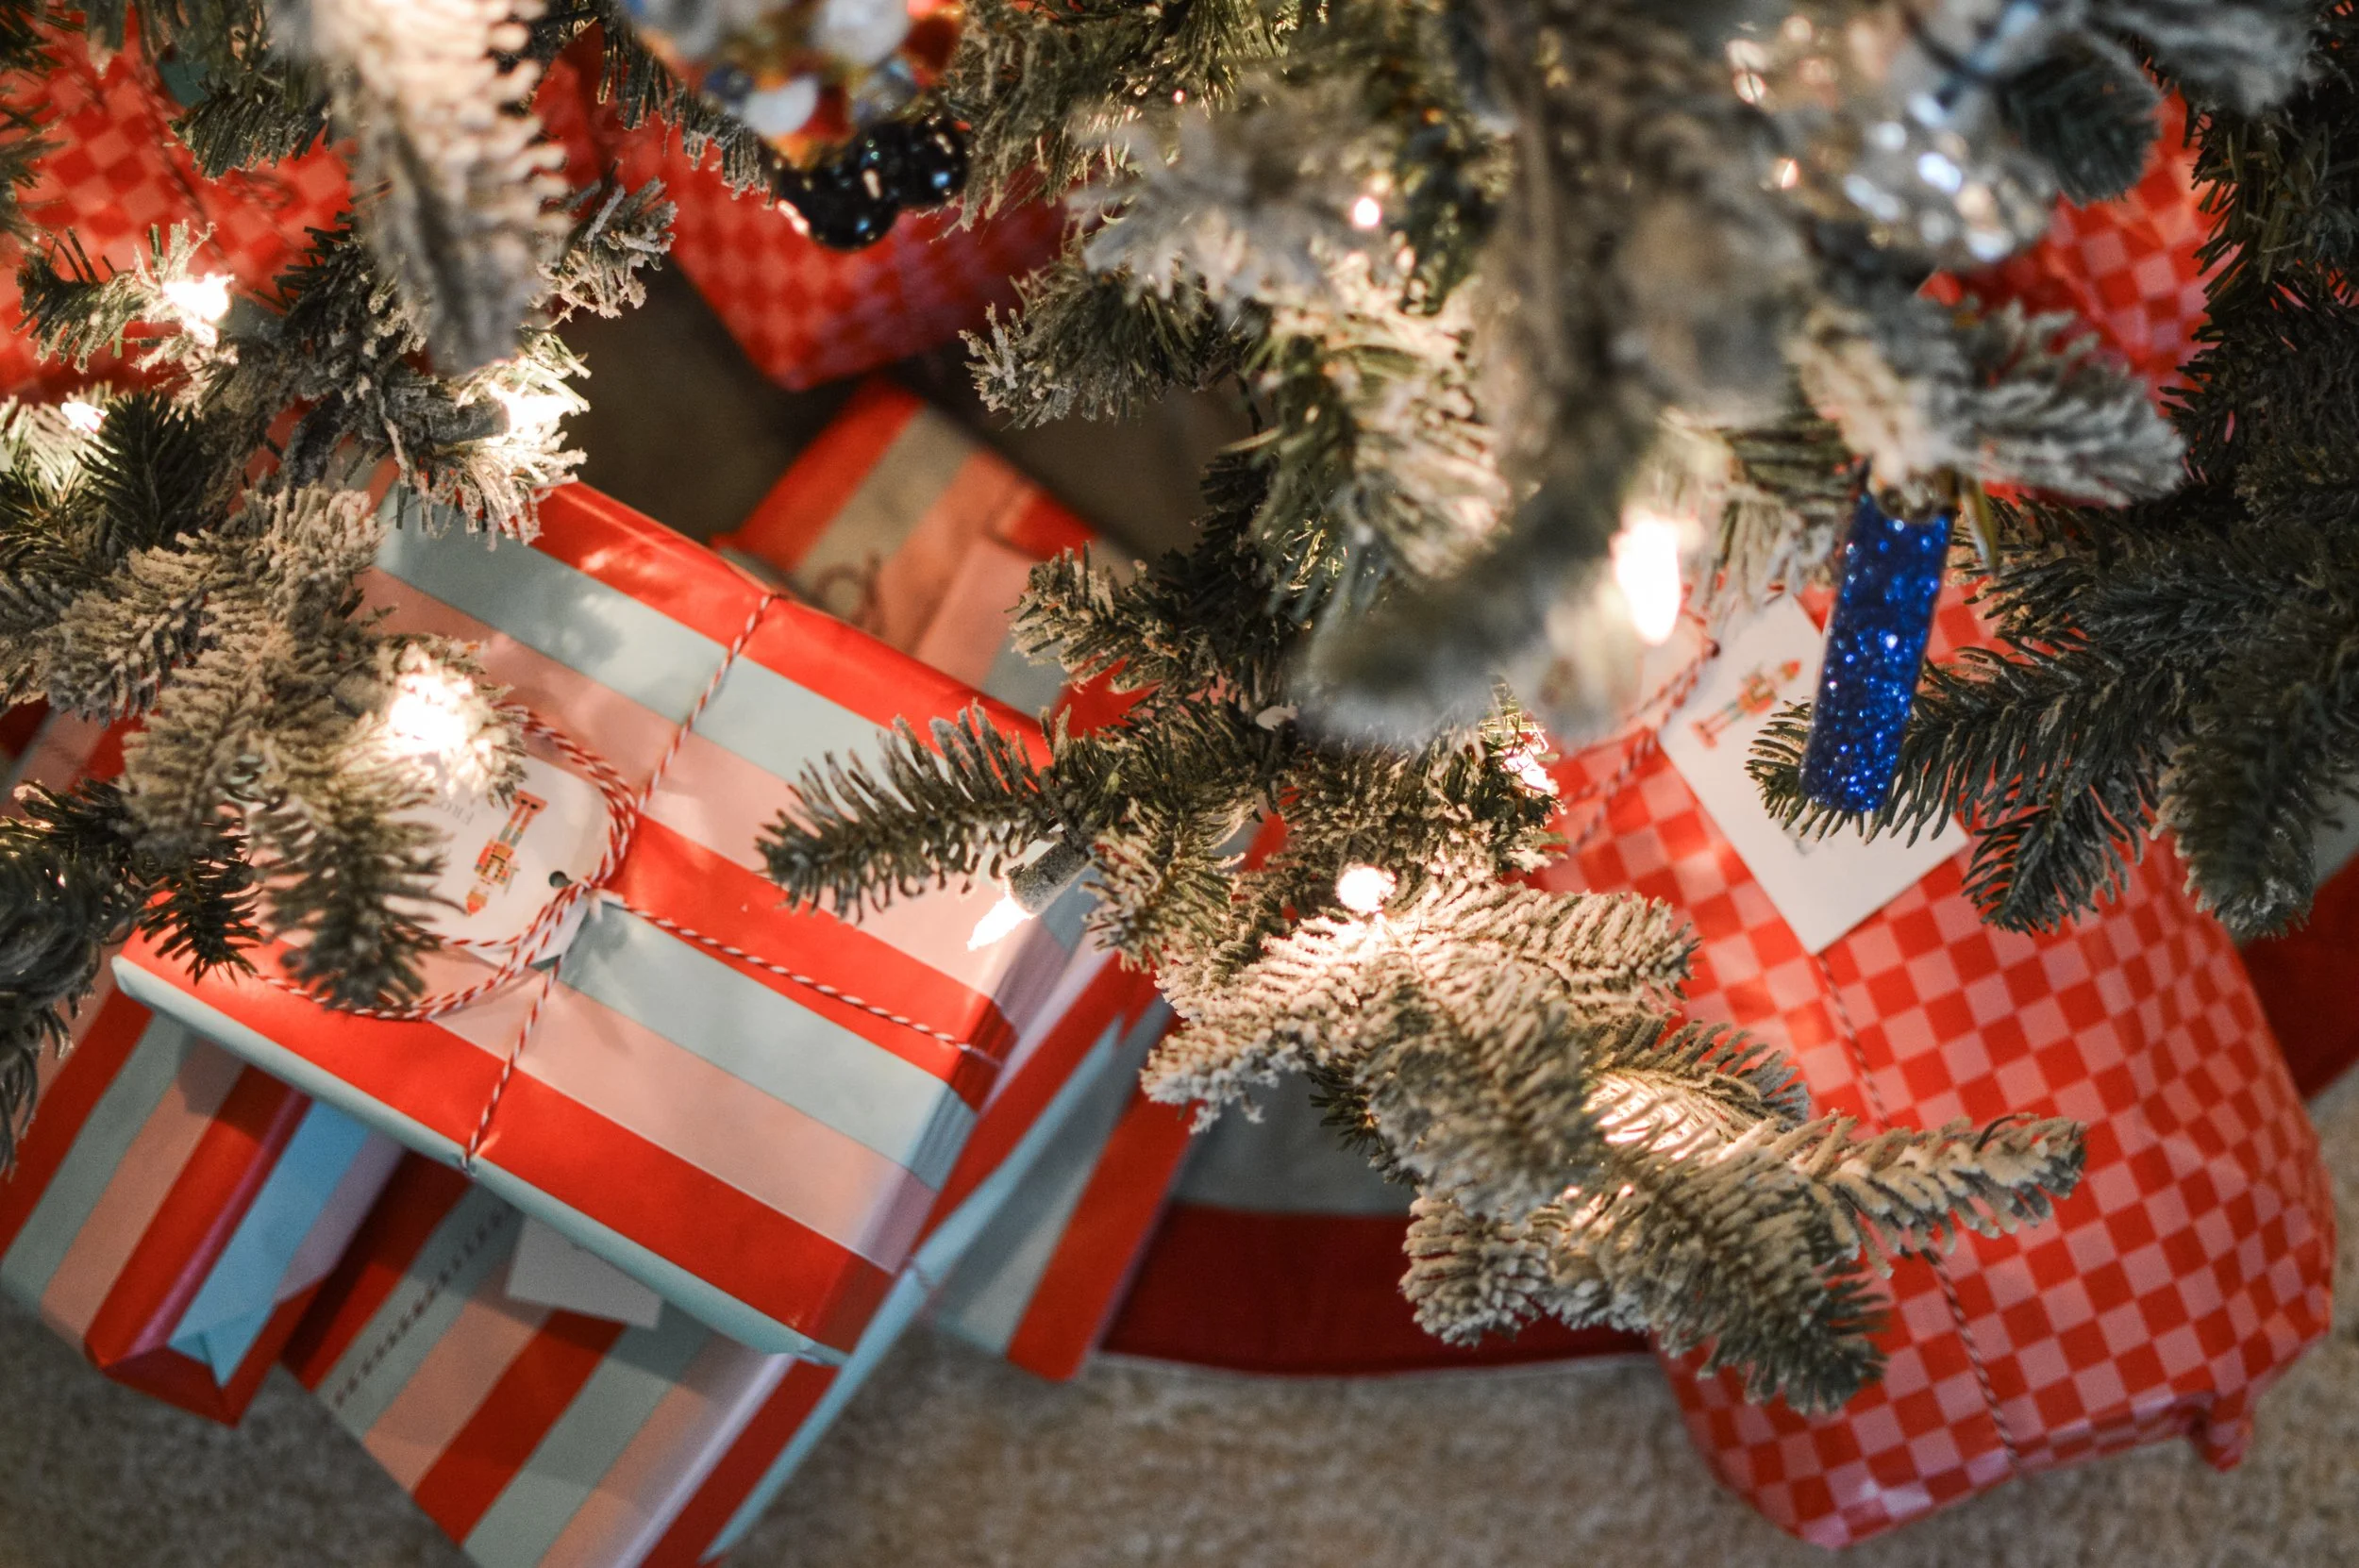
To involve my children in the magic of it all, I have two trees. One tree has all of their footprint+handprint crafts from Sunday School and even a few of mine from the 90s! This tree is playful, colorful, and NOT breakable. Painted wood ornaments and shatterproof ornaments go on this tree. The garland is felt balls in a rainbow pattern. This tree goes in the family room where we watch TV so we can hang out by tree-light and enjoy every minute together. The kids help me decorate this tree, they get to hang their newly-acquired crafts from it, they get to look for their old pictures and smaller handprints on it, and they get to put their gifts for each other under this one! I have found them lying under the tree looking up through the branches so the practice continues—it’s genetic! Haha!
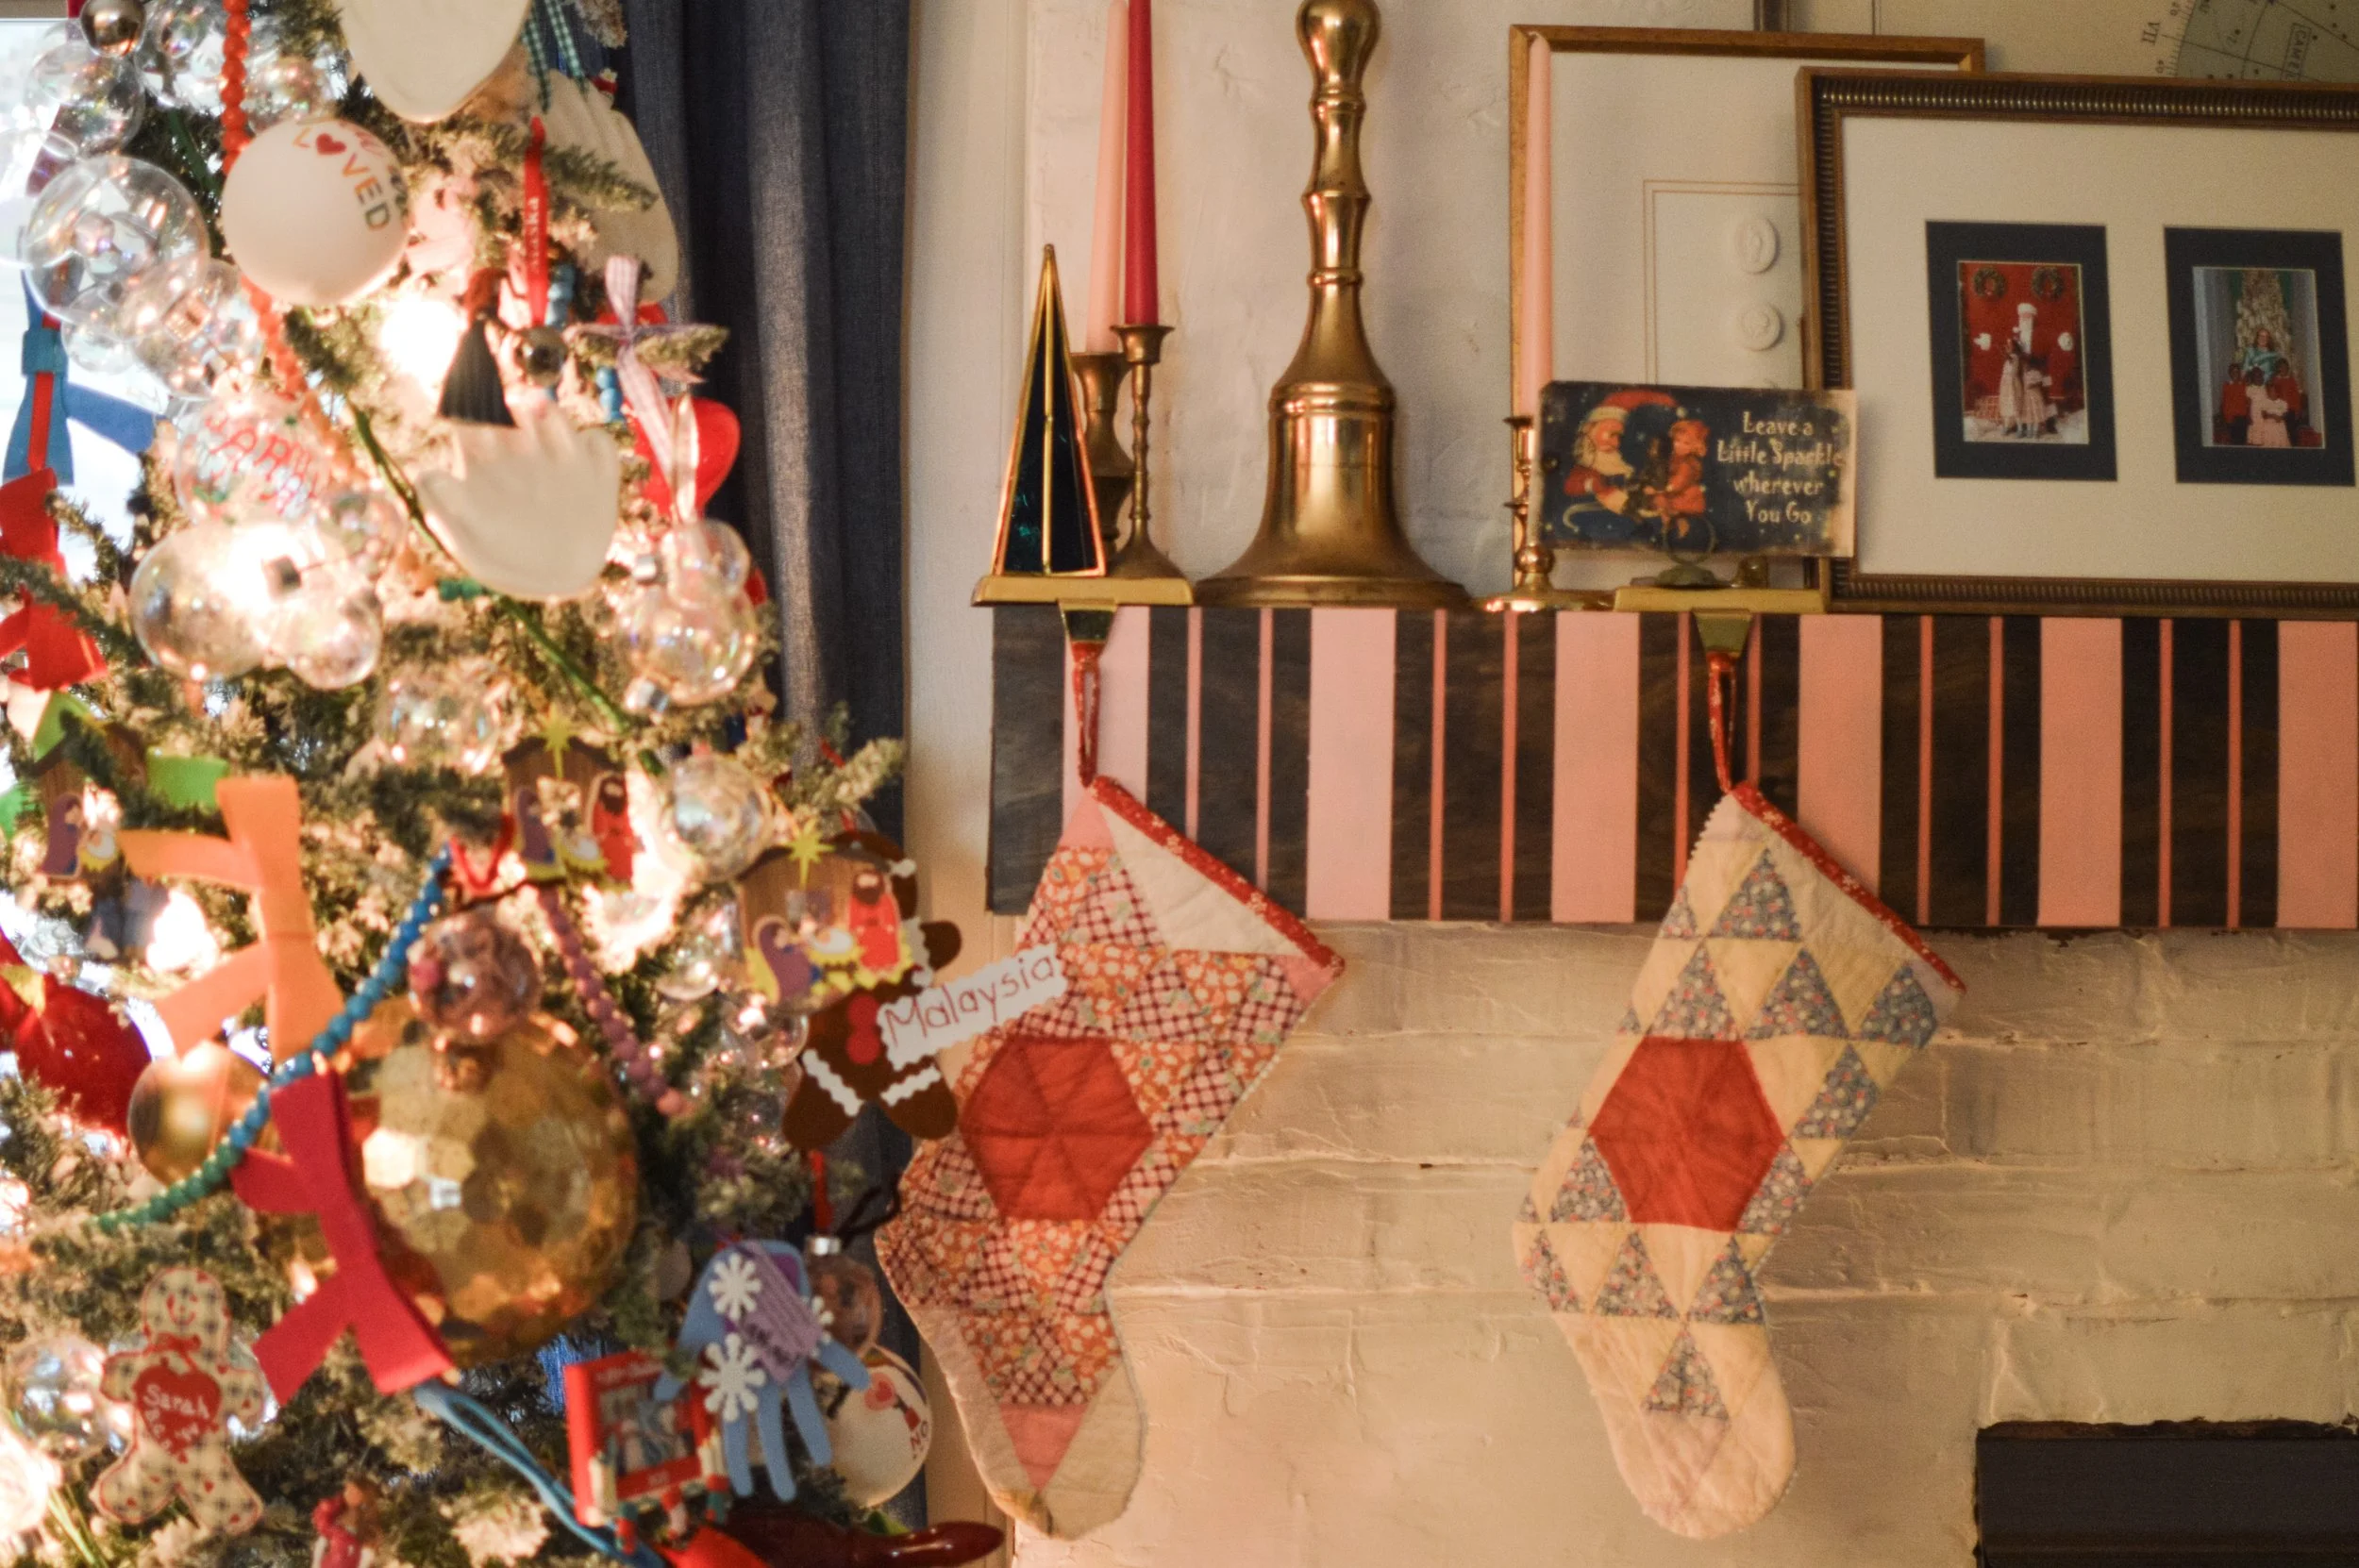
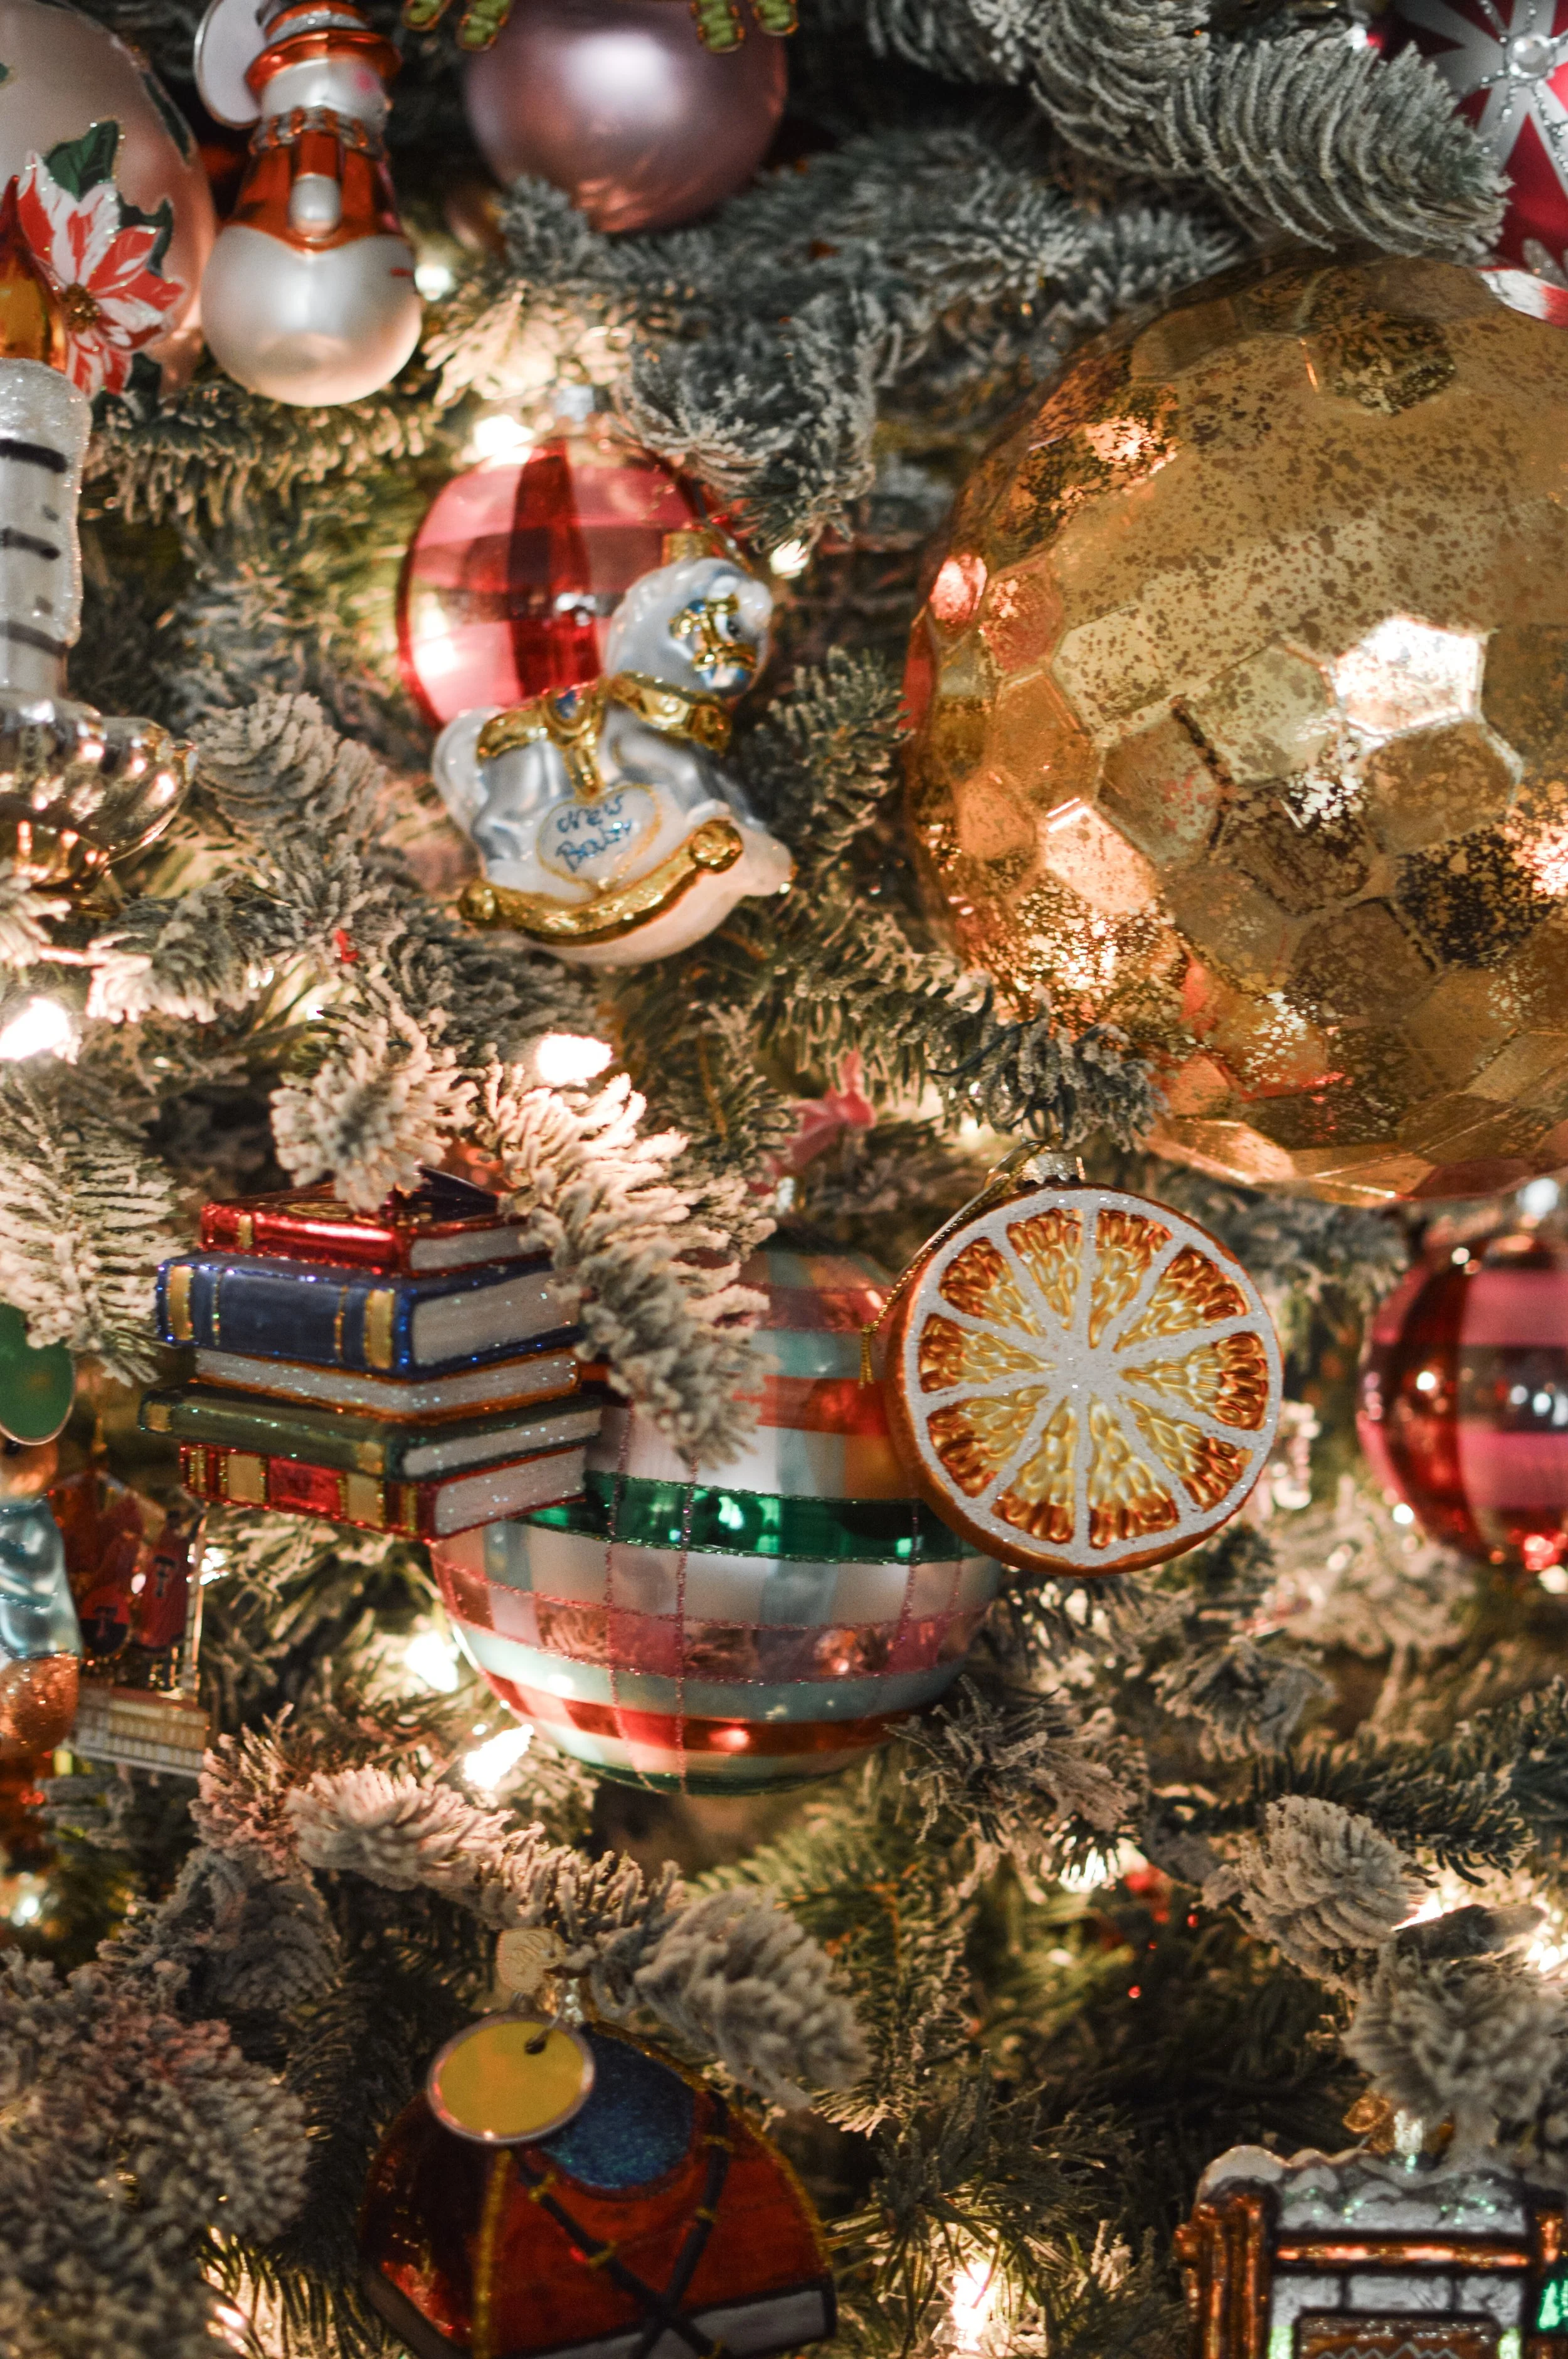
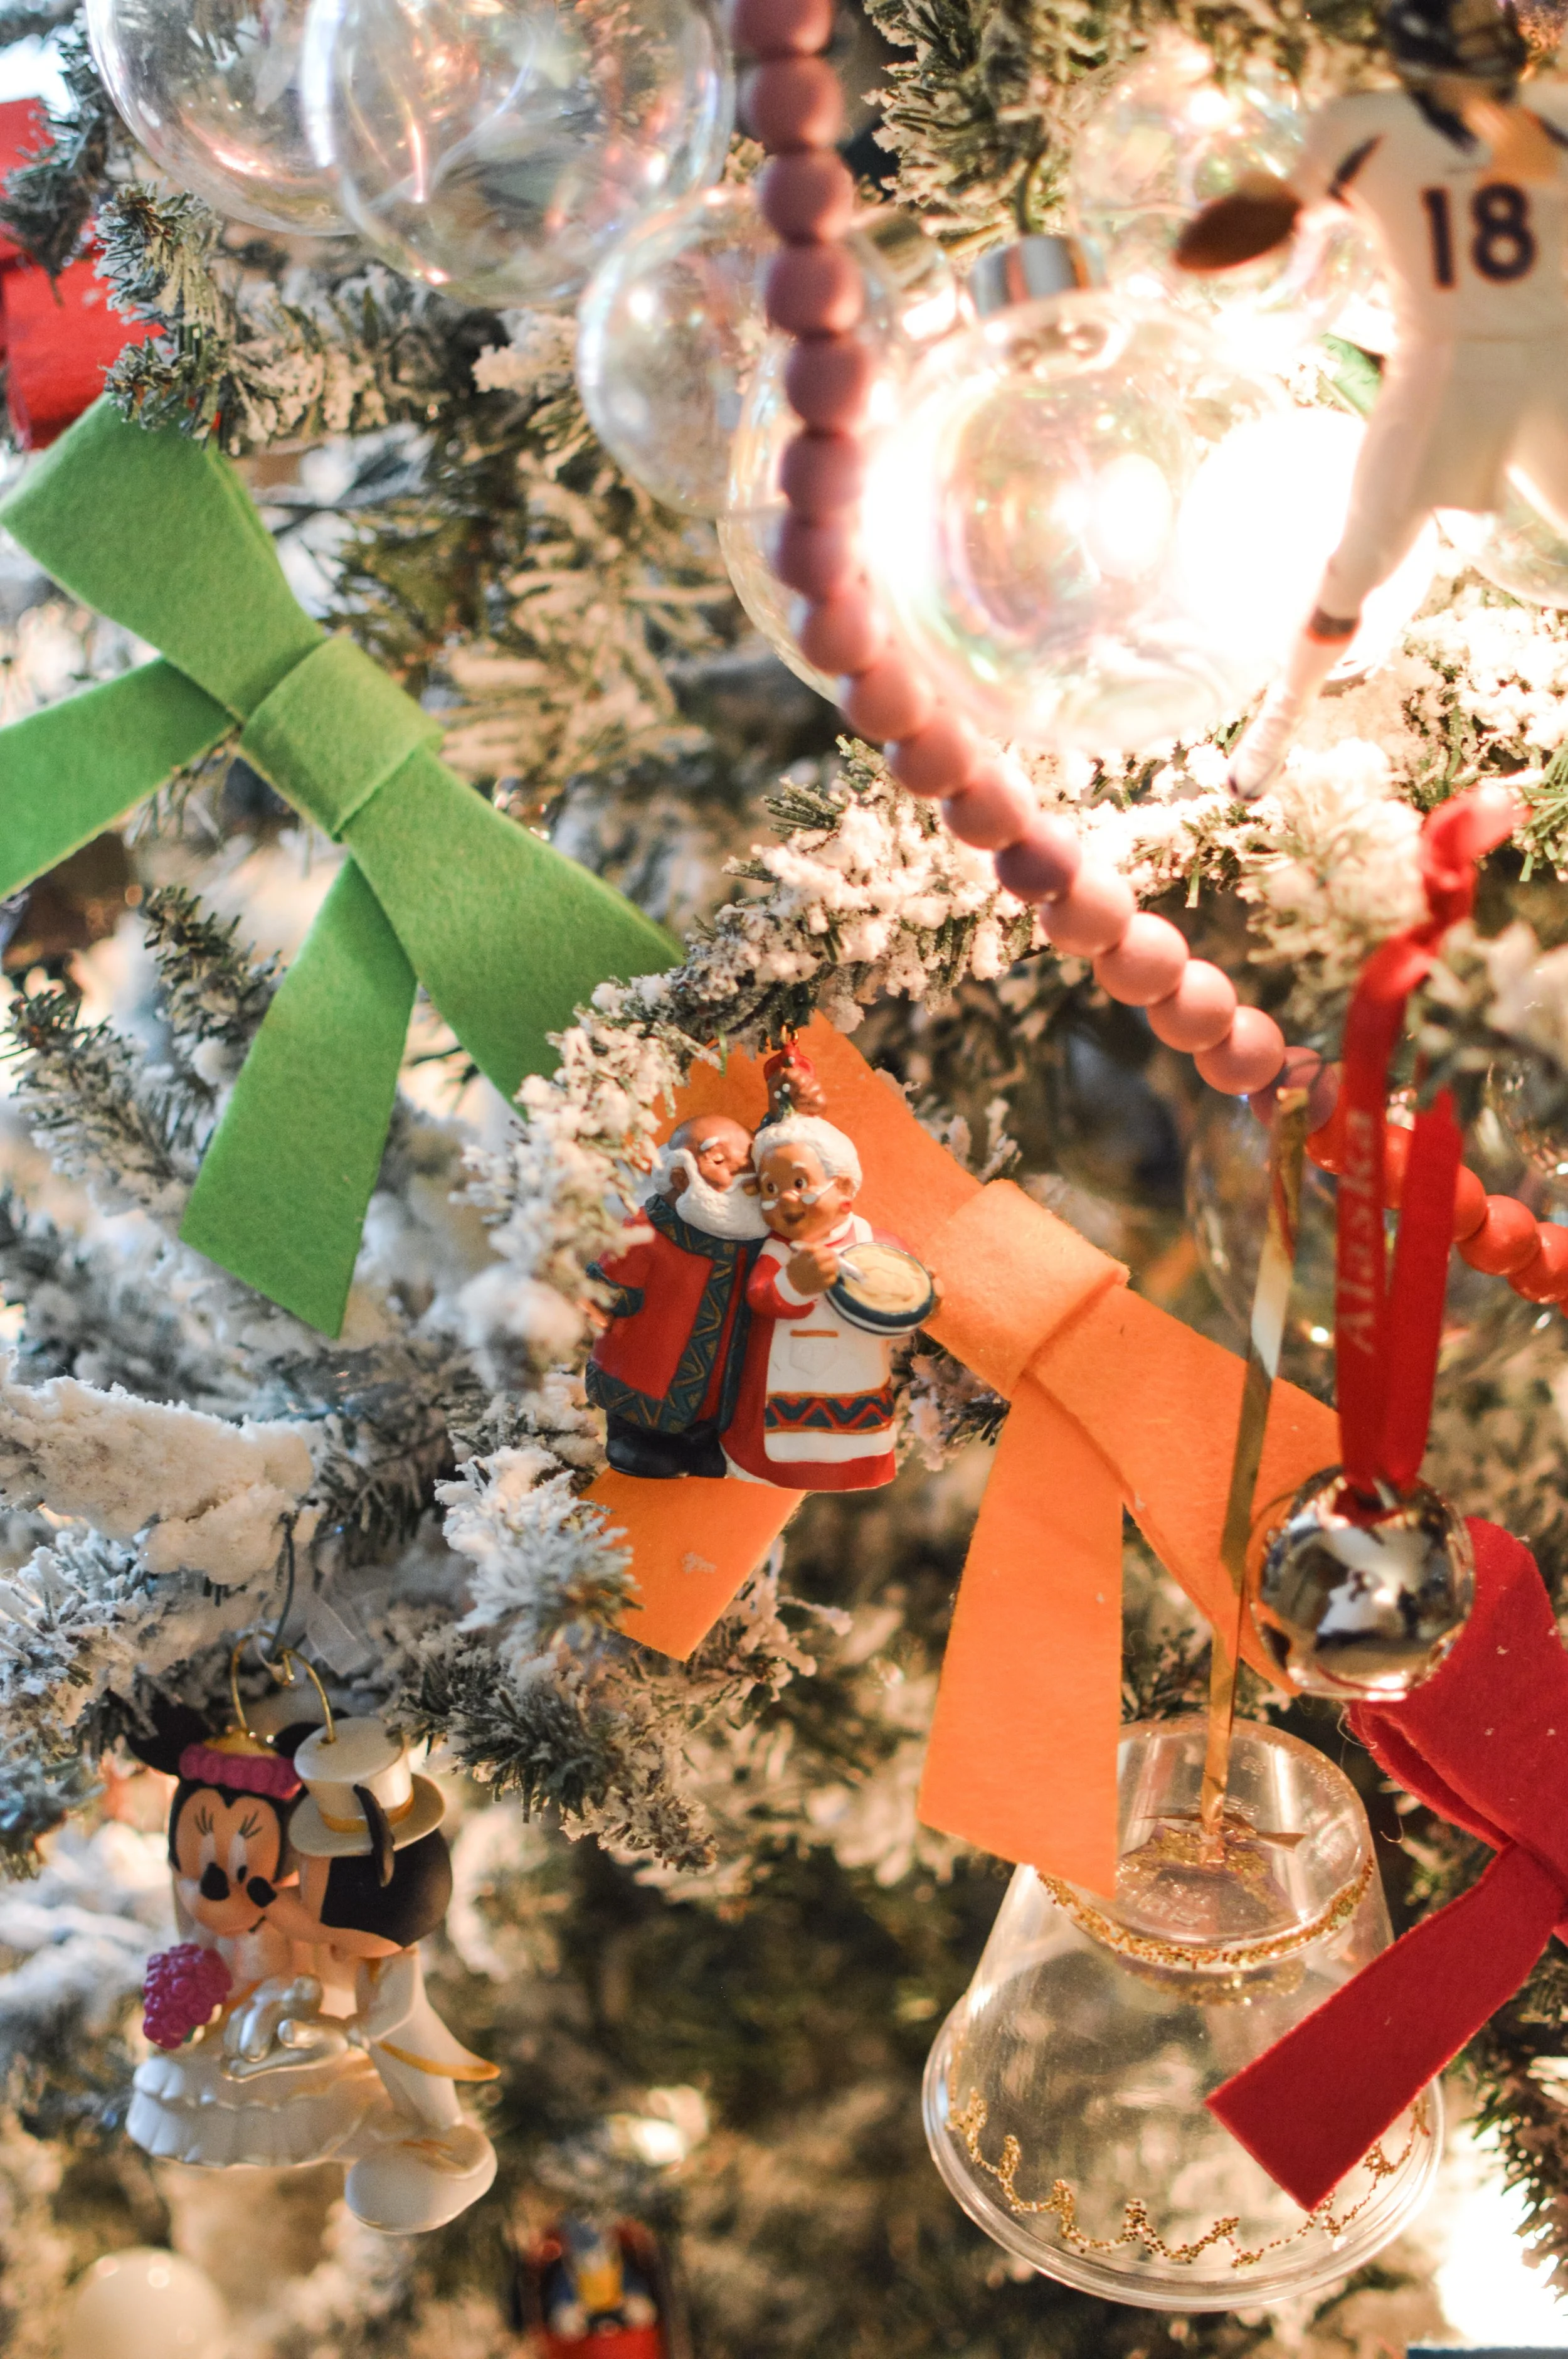
My second tree is where the sparkle comes in—I only buy glass ornaments for this tree. They all have tags (used for labeling keys) on them that say what memory or trip they are related to. So for Paris I got the Eiffel Tower, sure, but I also got the croissant and the ballet shoe to remember certain events we went to while there! This year I got a hard hat for the construction of our HQ and will memorialize the birth of our newest member with a new ornament, too! The ornaments are sparkly and so beautiful, but they also make me laugh and cry. The first Christmas I hung four baby shoes up on my tree, each with a new set of initials ending in “Lambert” I cried and cried. That’s the point of my Christmas tree—to celebrate all that the year has been, all that next year could be, to notice all that God has done in my life and be awed by it!
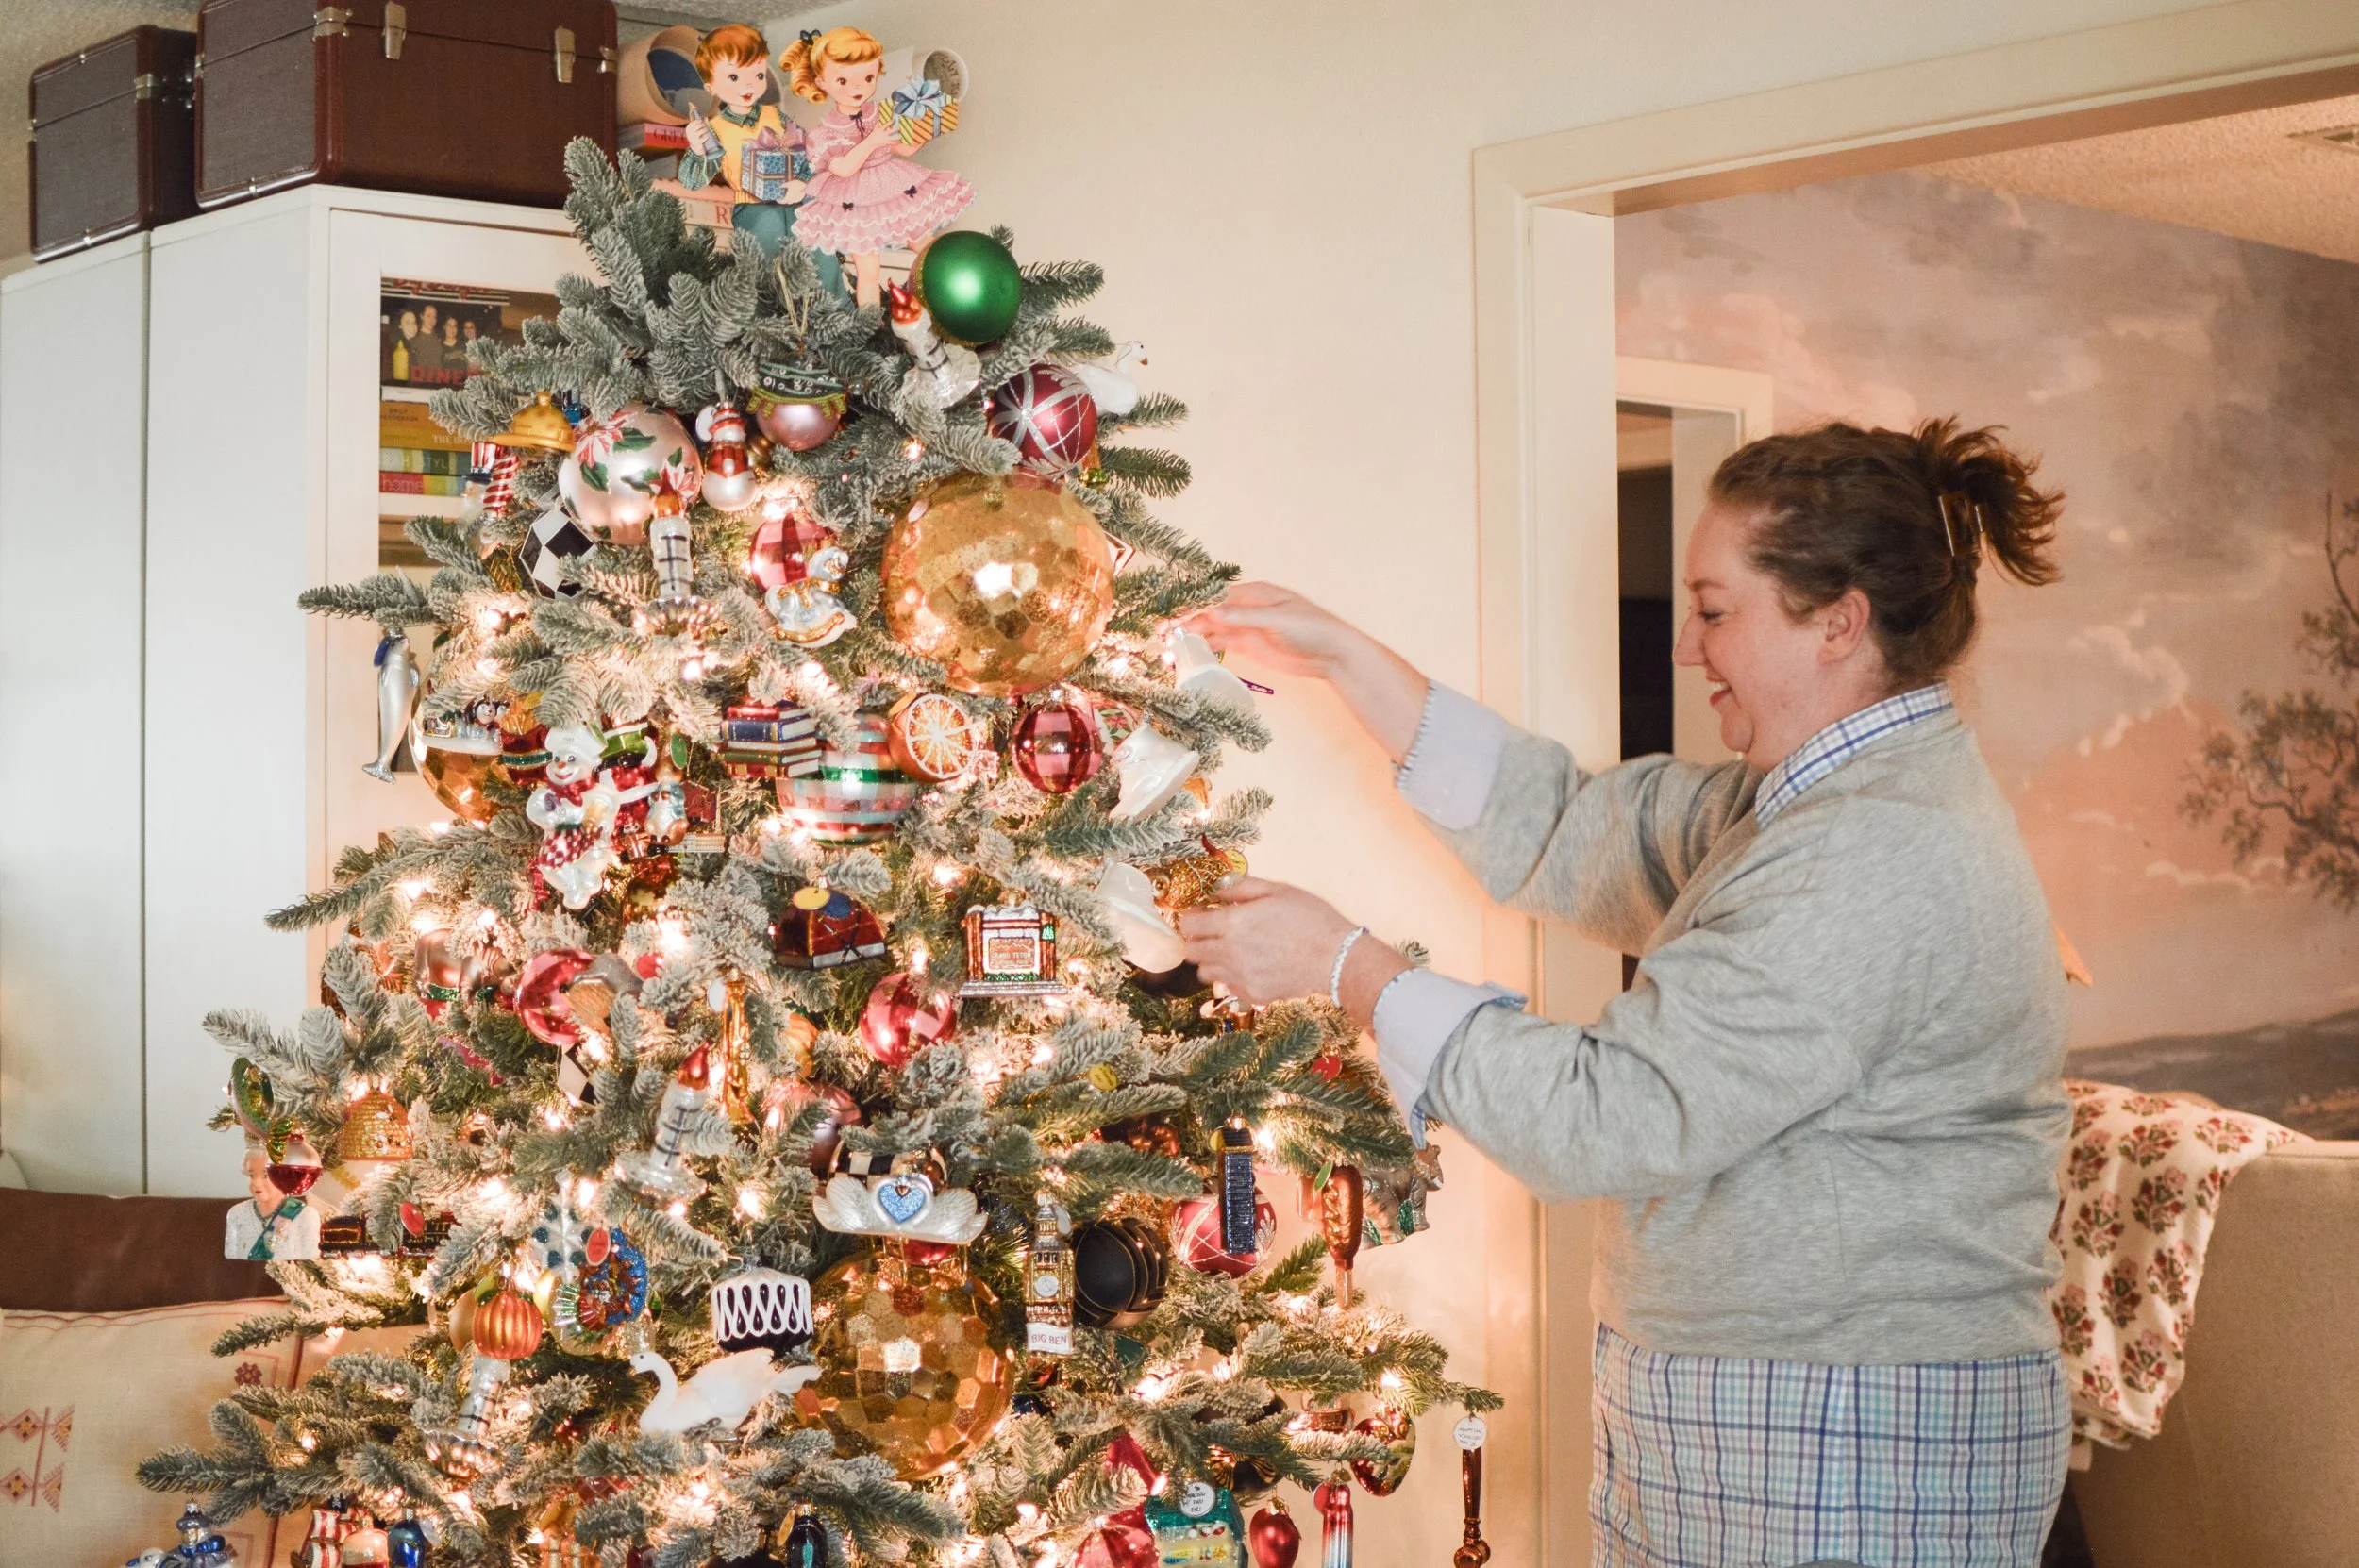
THE CHRISTMAS TREE TECHNIQUE
I always start my tree with ribbon. You can pay an arm and a leg for Christmas ribbon but I haven’t found that necessary for my vibes. I take two or three complimentary ribbons and twist them together with wire at the end to bind them together. Then I take that wired end and tuck it at the very top of the tree using the wire to tie it to a branch. From there I zig, zag, jump, hop, and skip down the tree. I don’t like my tree to look too much like a soft-serve ice cream cone. I don’t need the ribbon to swirl symmetrically or evenly. For me, the ribbon is just adding color, texture, and dimension to the tree. It also helps fill the tree so you don’t need one million ornaments.
Then I’ll add sprays and branches to bulk up the tree and begin adding dimension. I’ll use these same branches as a tree topper, too, so that my star isn’t too lonely up there.
The next step is filling the “inside” of the tree with shiny and matte solid colored ornaments. I have used up to 14” balls for this but I’ve found 8-10” balls work best in my 8’ ceiling music room. I fill all of the holes, the gaps, and cover the trunk with these balls. I prefer to bundle up 3-5 3” balls and make a cluster of ornaments so that the finish and colors are mixed everywhere. I use the same floral wire I used on the ribbon to tie these together. A tip here is to not make the cluster too tight or the ornaments will pop themselves out of their hanger!
Finally I go through with my sentimental stars and fill the outermost 6” of branches with things that mean something to me! Those are the ones I really get to see and I don’t want to have wasted prime placement on a solid ball!
Every year, as I grow and change, my tree changes a little bit. One year I had hot pink ribbon, the next was more of a blush. I used to use a vintage Christmas art as a tree topper but, now that I have black children, my all-white children’s art doesn’t fit who we are! My tree is absolutely authentic to me and my style but I give myself room to use the striped, graphic ornaments…or not this year! Feel free to be inspired by what you’re seeing out and about while still staying true to your real aesthetic! In fact, take our style quiz to help you hone in on your style! I AM a maximalist so I’ll always want mixed patterns and mixed colors but I have freedom to change it up as I grow.
I hope this blog helps you find your Christmas style and execute it like a pro!
‘Twas the Night Before Christmas at Lambert Home
We’ve all heard the classic tale. ‘Twas the night before Christmas, when all through the house not a creature was stirring, not even a mouse… If you’re anything like us, you likely have at least one copy of this story ready for whenever the classic Christmas tale needs to be shared. Well, this year, as we get ready for our new building to open, we’ve created a special Lambert Home version - no spoilers! Download this free Lambert Home poem at the button below, and be sure to read it to your loved ones in your jammies with a hot cocoa in hand!
From all of us at Lambert Home, we’re wishing you a very joyful, peaceful, and memorable Christmas season. Stop by the store to tell us about your plans! (: